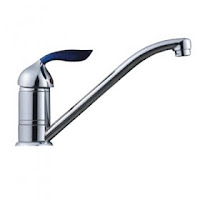
Things you will need:
- Crescent Wrench
- Flash Light
- Pillow
Optional Items:
- Silicone Sealant
- Locking Washer
- Loctite Adhesive
- Get everything out of the sink first. You want to have a clean area to work with so go ahead and do those dishes.
- Put a pillow down on the bottom part of the cabinet door under the sink, and position yourself with most of your upper body under the cabinet so you can see the faucet behind the sink. Most times you really have to get up under there because the sink will be blocking your view of the connections.
- With the flash light, see how the faucet is connected to the sink. There will be either one, two, or three bolts holding the faucet to the sink. These will most likely be separate from the hose connections, but could be surrounding the house connections as well. You will just have to use your best judgement.
- Get some help real quick from the lazy person sitting in the den watching TV to hold the faucet from the top while you tighten it from underneath.
- If you want to use the adhesive on the threads now is the time. Loosen up the nuts under the sink and apply a thin layer of adhesive around the threads.
- If your faucet is older(before 2000), you will probably need that crescent wrench right about now to tighten the nuts under the sink. If you have a new kitchen faucet, the nuts will most likely be plastic and you can just use your hands to tighten the bolts. Ask your lazy helper person to try and wiggle the faucet. This will loosen up any possibility of it being seated incorrectly.
- Repeat step six until that thing is on there nice and good.
- Join lazy person in the living room and feel good that you accomplished more than them today.

No comments:
Post a Comment